Using Existing Meshes
Use the volume mesh that is generated from the patch topology to generate a source mesh for the remaining Magnet and Rotor parts.
Note that the Air, Magnet and Rotor parts have contacts defined between them.
- As with patch meshing, right-click the node and select .
-
In the
Create Directed Mesh Operation dialog, select the
Magnet part and click
OK.
Only the Magnet and Rotor parts appear in the dialog as the other three parts are already associated with a directed mesh.
- Right-click the node and select Edit.
-
In the
Directed Mesh 1 window:
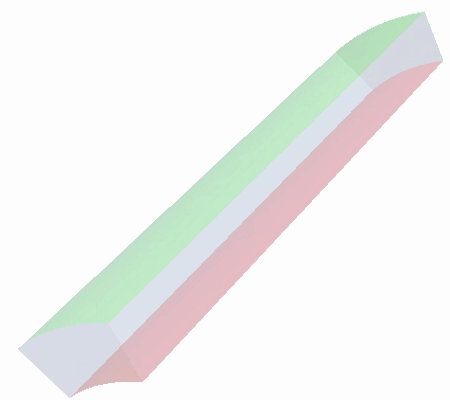
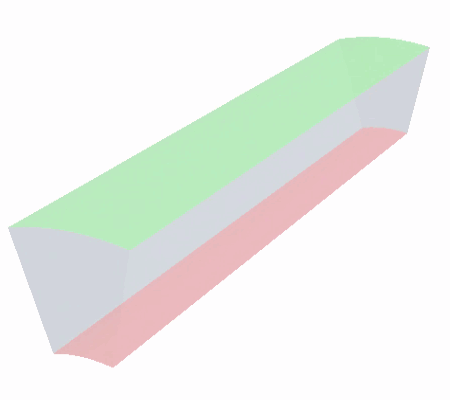
- Select the top surface of the Magnet part (Magnet:source), right-click the selection, and choose .
- Select the bottom surface of the Magnet part (Magnet:target), right-click the selection, and choose .
The source surface is displayed in green and the target surface in red.
- Right-click the Source Meshes node and select .
-
In the
Part Collection For This Source Mesh dialog, select
Magnet.
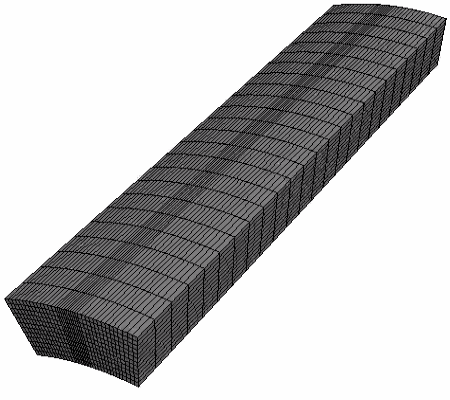
Simcenter STAR-CCM+ maps the base of the volume mesh for the Air part to the source surface of the Magnet part. It adds an Existing Mesh node, Magnet, to Mesh Settings.
- Select the node and set Number of Layers to 12.
-
Right-click the Directed Mesh 2 node and select
Execute.

- Click Close Directed Mesh to return to the simulation tree.
Repeat the process for the Rotor part:
- Create a Directed Mesh operation.
- Edit the Directed Mesh 3 node and select the source and target surfaces.
-
Create a source mesh using an existing mesh. Select the
Rotor part as the part collection for the source
mesh.

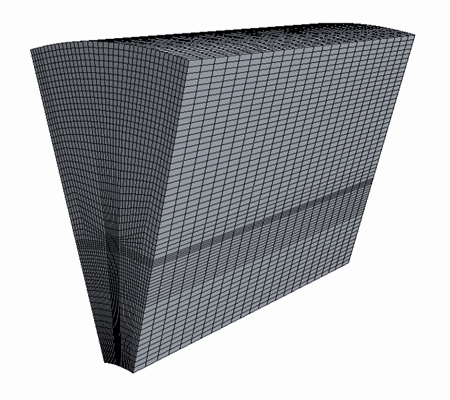
- Select the node and set Number of Layers to 12.
- Execute the directed mesh operation.
- When the volume mesh for the Rotor part is generated, click Close Directed Mesh.
- Create a Mesh Scene.
