Importing the Background and the Overset Meshes
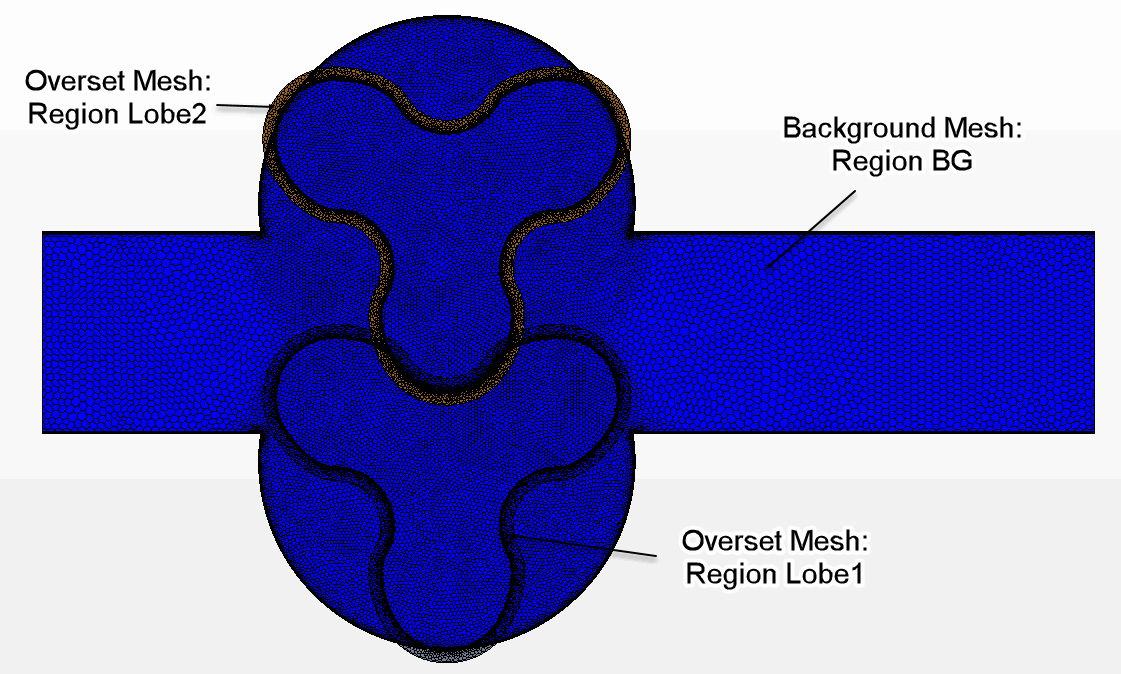
For this tutorial, you are provided with an input file that contains three meshes—one background mesh and two overset meshes. Inflow and outflow occurs through the background mesh. Each of the rotating lobes has an overset mesh. The meshes are available as regions with the individual boundary surfaces and boundary types defined.
Due to the large number of cells, you are advised to launch this tutorial in parallel on, for example, four cores.
To import the meshes:
- Launch Simcenter STAR-CCM+.
-
Start a new simulation:
- Select .
- In the Process Options box, select an appropriate parallel option and set the number of Compute Process to, for example, 4.
- Click OK.
- Select .
- In the Open dialog, navigate to the motion folder of the downloaded tutorial files.
-
Select lobeBlower.ccm then click Open.
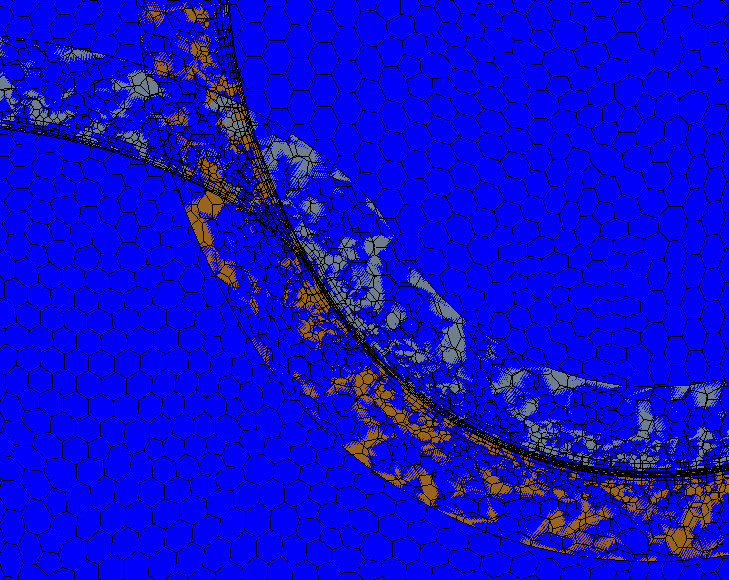
Simcenter STAR-CCM+ provides feedback on the import process in the Output window and three regions are created under the Regions node. Geometry Scene 1 displays the imported volume meshes.
-
Review the imported volume meshes.
- Save the simulation as lobePump.sim.
 (
(
