Setting Up a Staged Simulation
In a single simulation, you set up multiple physics settings using the stages.
-
To define a new stage, right-click the node and select New.
Repeat the step until you reach the number of configurations you want to run in this single simulation. You can rename a stage so that it reflects the physics configuration in the stage.
After creating the stages, you mark the physics settings you
want to vary in the simulation. Simcenter STAR-CCM+
supports region settings, boundary settings, physics model selection, interface
settings, and solver settings.
-
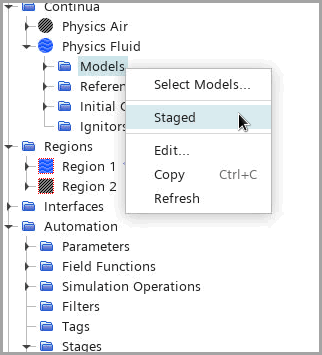
For each stageable property you wish to modify, right-click the node and select
Staged.
注 You cannot stage motion configurations. -
After marking the staged properties, you have three options to set the active
stage:
- Select the node and set Active Stage.
- In the Manage Active Stage menu, set
the active stage as follows:
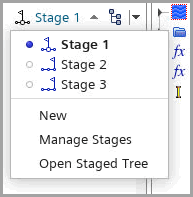
- Use the simulation operation Set Active
Stage:
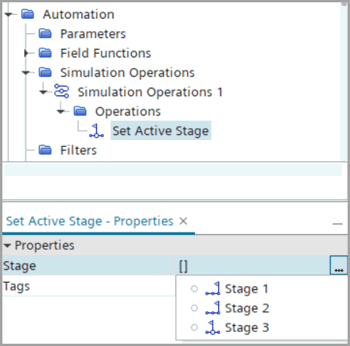
The active stage has a different icon than the inactive stage.注 Setting a new active stage is not possible without completing the current time step. -
To populate the values for the staged properties:
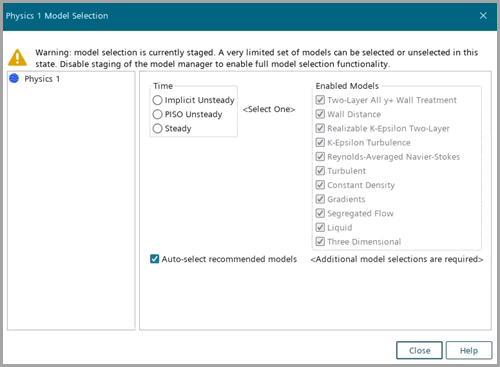
For physics models, Simcenter STAR-CCM+ currently only supports the Time model. That is, you can only set different Time models for different stages within the physics models. All other models must stay the same in all the stages:
To run a simulation with multiple stages, you can proceed
through the stages manually or else automate the sequence using a simulation
sequence.
-
To run the simulation manually:
-
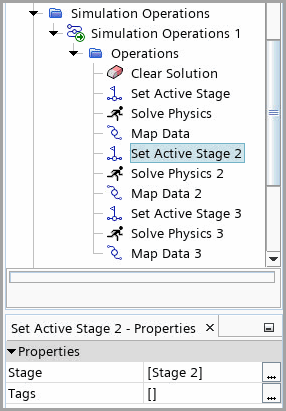
To run the simulation with a simulation sequence, use the simulation operation
Set Active Stage, at the points where you wish to
change stage.
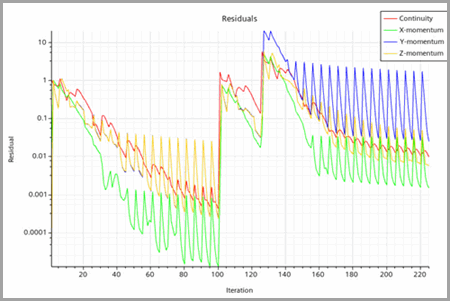
An example is shown below:
